Photoshop has a number of tools that make it easy to remove small distracting/undesired elements in an image. Some of the tools are Spot Healing Brush Tool, Healing Brush Tool, Patch Tool and Clone Stamp Tool.
Spot Healing Brush Tool
- Tap J key to select Spot Healing Brush Tool.
- Now, the spot healing brush is going to automatically select the sample spot for you.
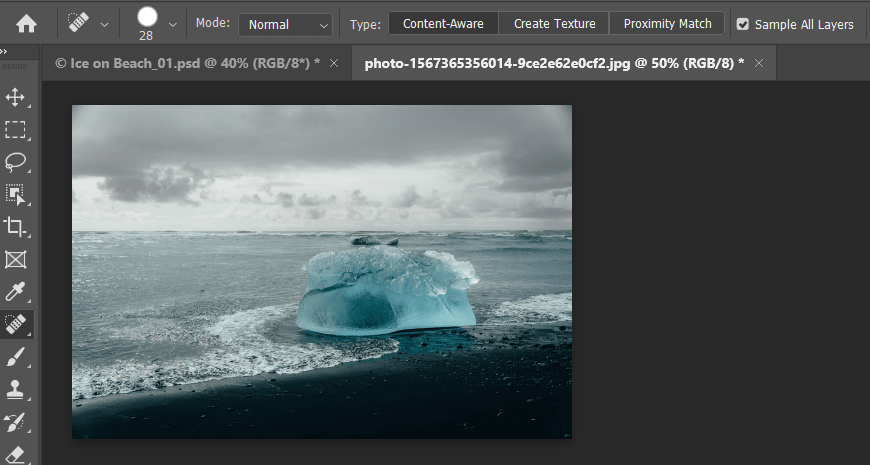
- Click on the bad spot that you want to remove. And Photoshop will replace it with one of three options. Either content aware, create texture, or a proximity match.
- In order to remove the elements in a more flexible manner, I will add new layer form the Layer panel instead of retouching the background.
- Then I want to make sure with all of the tools that I’m using that I have the option to sample all layers. So select the check box Sample All Layers in the option bar.
- Now I can retouch layer targeted, but Photoshop will sample from the background. So now, all I need to do is just position my cursor over any of the distracting elements that I want to remove. And when I paint over them, Photoshop will remove or replace the area that I paint over with other information.
Healing Brush tool
- Tap J key until Healing Brush Tool is selected.
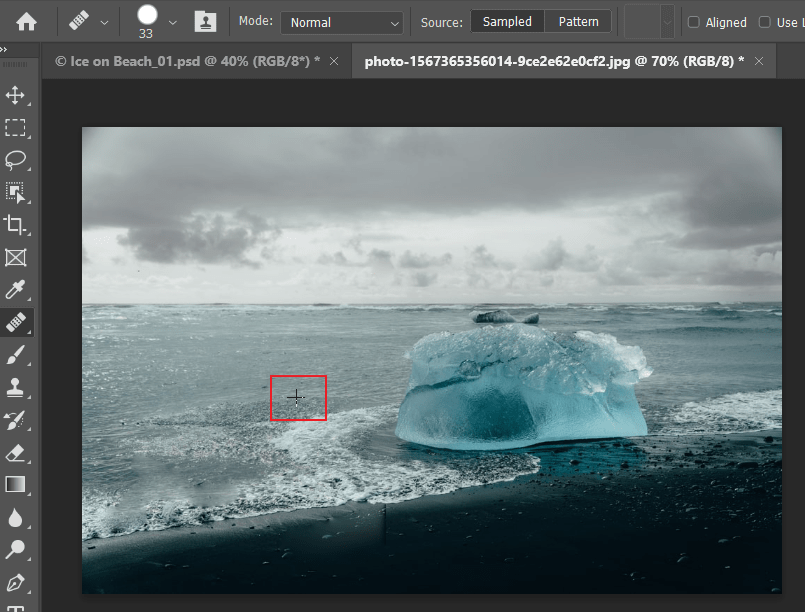
- If you have an image that only has a little bit of good source area, you might want to uncheck the Aligned option in the option bar.
- Tap Option + click on Mac and Alt + Click on Windows to set source point. Now left click and drag over the desired place to replace the area with source point.
- With Aligned option enabled, when I Option + click on Mac and Alt + Click on windows and select, and then I moved to a different area, Photoshop is going to keep the source and the destination in alignment.
Patch Tool
- Tap J key until Patch Tool is selected.
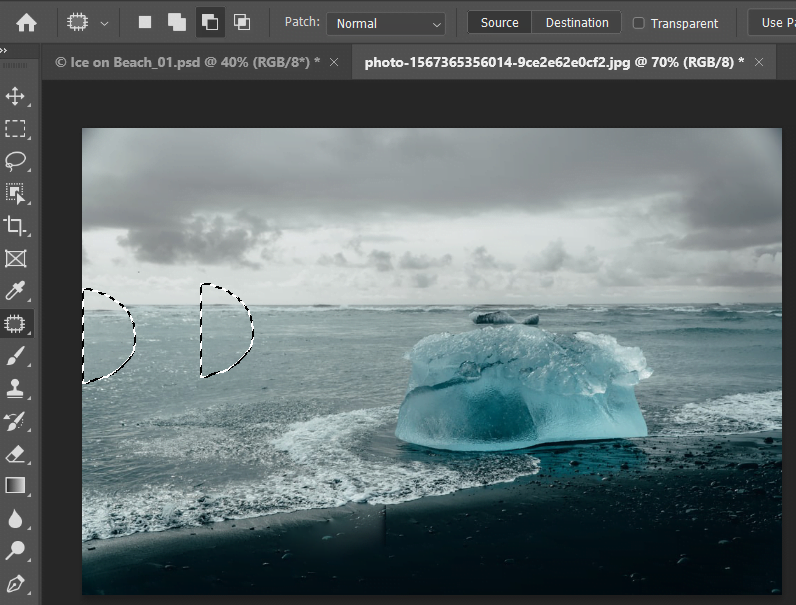
- This tool support content aware technology and has the ability to sample all layers.
- As shown in the below image, I’m going to start with water and just drag around that area. Then I can click inside and just select the area that I want to patch from. So I’m selecting the source here.
Clone Stamp Tool
If I use the patch tool and I make a selection, sometimes we may get little blending area along the edge. So in order to avoid that, we can use the clone stamp tool.
- Tap S key until Clone Stamp Tool is selected.
- It also has the similar alignment options as well as the ability to sample all layers.
- It uses an exact duplicate of another area. This tool we can prefer when there’s a lot of good source information.
- Set the source by holding down the Option key on Mac, the Alt key on Windows.
- And then I can start painting, and I’m going to get an exact duplicate.
- We need to just get rid of anything that’s obviously repeating because our eyes are so sensitive to texture that we’ll pick up those repeating elements