It is often difficult to select like fur and hair. Photoshop’s select and mask features make it quite easy to make even difficult selection, and enable us to restrict our changes to only the background.
This article discuss how to work with soft edge in Photoshop.
Selecting Soft Edges
In order to select a soft-edge object like this bird,
- We’re going to start with Object Selection Tool, tap w key to select this tool.
- Hold down the Option key or the Alt key on Windows to subtract area, and fine tune the selection.
- Got to Select menu and choose Select and Mask. On the left-hand side, we have a number of different tools that we can use to refine our selection.
- Over on the right-hand side, there are a number of different ways that we can preview our image. We can use the View menu here if we wanted to see it.
- We can change the amount of transparency (right side panel) if that helps when making the selection.
- On the option bar, select option Refine Hair. Photoshop will look specifically for difficult-to-select edges like fur and hair. There are two options here, Color Aware and Object Aware.
- Then we can use the Smart Radius option in the Radius slider. And we can see, as I reposition the slider, Photoshop is automatically adapting the edges based on the image content.
- We can use the Refine Edge Brush Tool to refine the edge around the selection.
- I can just switch to the Brush Tool, and just paint the area in case desired region is not selected.
- There are a number of different ways that I can output this. For now, I just want a Selection. Click on OK at the bottom of the Layers panel.
- I’ll just add a hue saturation adjustment layer to adjust the saturation. But I want it to affect the background, so I’ll click on the mask icon and then choose Invert.

Photoshop’s Select and Mask features make it quite easy to select difficult selection.
Removing a Halo
When removing the background from an object, a small halo might appear along the edge of the object because
- Difference in color and tone between the subject and the background
- Color and tone on the image that it’s going to be blended with
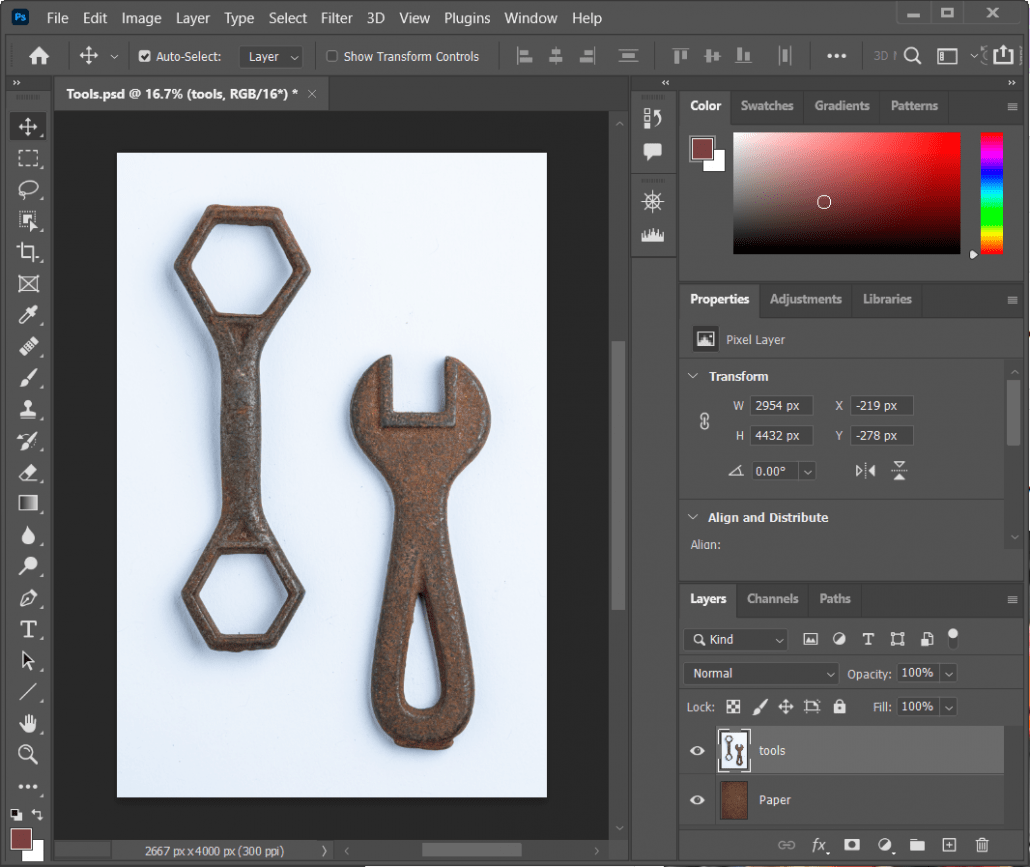
Below document has two layers, it has the tools on the white background and the paper layer. Direction of light is actually coming from the right side here because we can see the shadow on the left. Now, I want to make a selection of the tools, so I’ll choose Select and then Subject from the menu. If I add a mask right now by using the mask icon at the bottom of the layers panel, we can see this halo going around the tools.
- So before adding layer mask I’m going to choose Select menu and then Select and Mask.
- Select appropriate view and adjust Global Refinement options.
- All right, as far as the output settings go, in this case I can output this directly to a Layer Mask.
- To add shadow same as that of the original image, click on the effect icon (fx) at bottom of Layer panel and choose Drop Shadow.