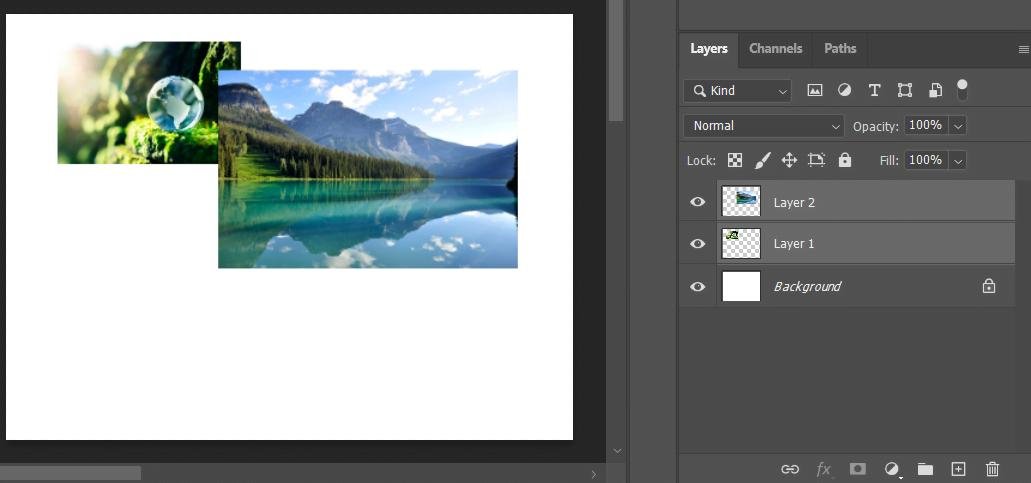
As you work with more and more layers, layers panel might get a bit out of control. So in order to organize your layers you can use layer groups. A layer group can also help
- Move all of the layers in a group at one time.
- Scale or transform
- Change opacity and blend modes
- Mask all of the layers
- Create special effects by adding layer effects to groups.
This article discuss about working with layer group in Adobe Photoshop.
Create Layer Group
To create a layer group
- Select the multiple images from the layer panel. Instead of having to go all the way back to Layers panel, right click and click to select the desired layer.
- Go to Layer menu and choose Group Layers or use the keyboard shortcut command G on Mac control G on windows.
- Alternatively we can just drag them down to the folder icon in the Layers panel to create a group.
- Double-click on group to rename it.
To change the opacity of a single layer,
- Select that layer
- Hover cursor over the word opacity in the Layers panel
- Drag left or right in order to increase or decrease the opacity. We can also click within the text entry area and just type in a number for the opacity.
Editing Group Of Images
To move all the images in a group
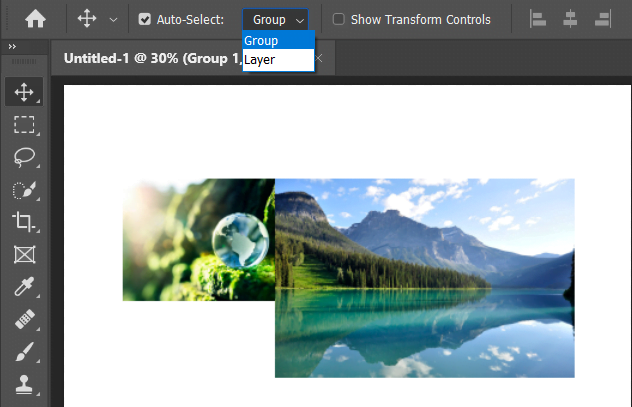
- Tap on v key to select move tool.
- Change the auto select to Group in the control panel.
- Then with a group targeted, we can use the move tool to move all of the layers within that group at one time.
- If we hold down the shift key and use arrow keys, we’ll move them in larger increments.
- I could also transform the layers by choosing Edit menu and then Free Transform. Hold down the option key on the Mac or the alt key on windows to transform from the center.