Crop can add canvas size around the image area, when we’re working on a background. To increase the canvas size
- Open a image in Photoshop
- Tap the c key to select the crop tool.
- Start dragging out the crop marquee, until it is bigger than the image.
- Because we started with a background layer, Photoshop is going to fill the additional canvas area with background color
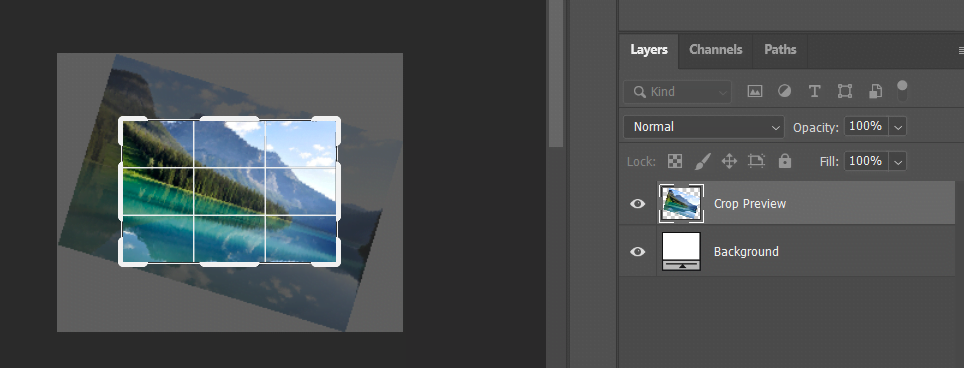
In the above figure, crop marquee is bigger than the background (left side). So Photoshop has filled the additional canvas area with new background(right side).
Add Transparent Background
When we work with layer instead of background, Photoshop will fill the additional canvas with transparent background. Below are the steps to add transparent background
- Convert the background to a layer, by clicking on the lock icon in the Layer panel.
- Hold down the Option key on the Mac or the Alt key on Windows and drag out in order to add some canvas area.
- Additional canvas area is now transparent.
- Tap Return or Enter in order to add that additional canvas area.
Change Canvas Size
To change the canvas size by given amount
- Go to menu, Image > Canvas Size.
- Enter in specific values or a relative amount.
- To add one inch at the height and two inches at the bottom, select the center anchor and choose okay.
To reposition the image on the canvas, tap the v key and then drag in order to reposition it within the canvas size. If I wanted to fill this canvas with a color
- Go to menu Layer > New Fill Layer > Solid Color
- Choose a color and click on okay.
- And we can see in the layer panel, the color fill is on top of the layer zero. Reposition it down by dragging it in the layers panel, so that fill layer is below.