You may not want to create an outline around a specific section of the image. In this article, I’ll show you how to outline the subject in your photo while leaving the rest of your image untouched.
Creating Outline
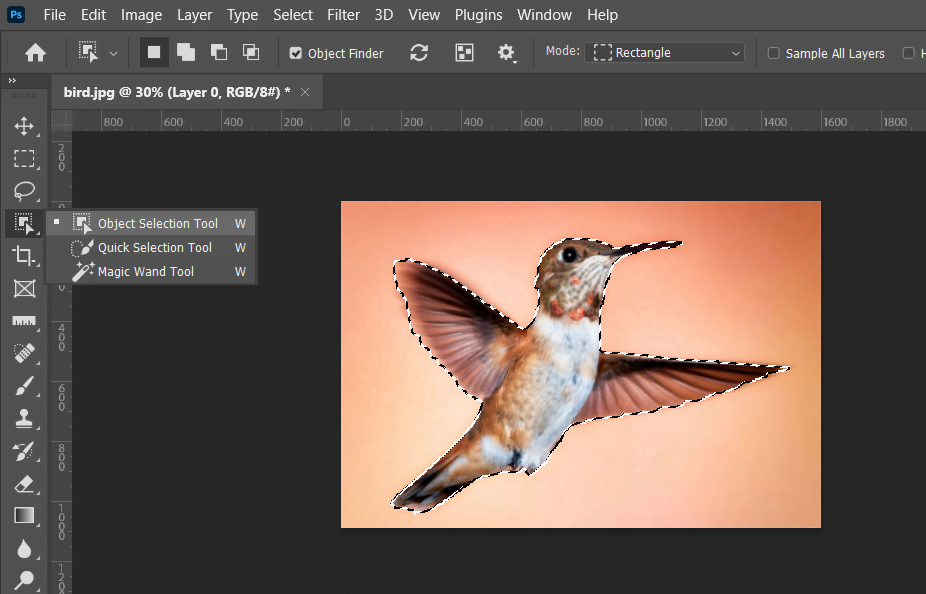
- Grab the Object Selection Tool by pressing W or find it in your toolbar. This tool is only available in Photoshop CC 2020 and newer.
- With the Object Selection Tool active, set the mode to ‘Rectangle’ (top contextual control panel)
- To make a selection, click and drag out a rectangular selection around your subject. Once your subject fits inside this box, Photoshop will snap your selection around the subject.
- With an active selection around your subject, press Command + J (Mac) or Control + J (PC) to duplicate your selection onto a new layer.
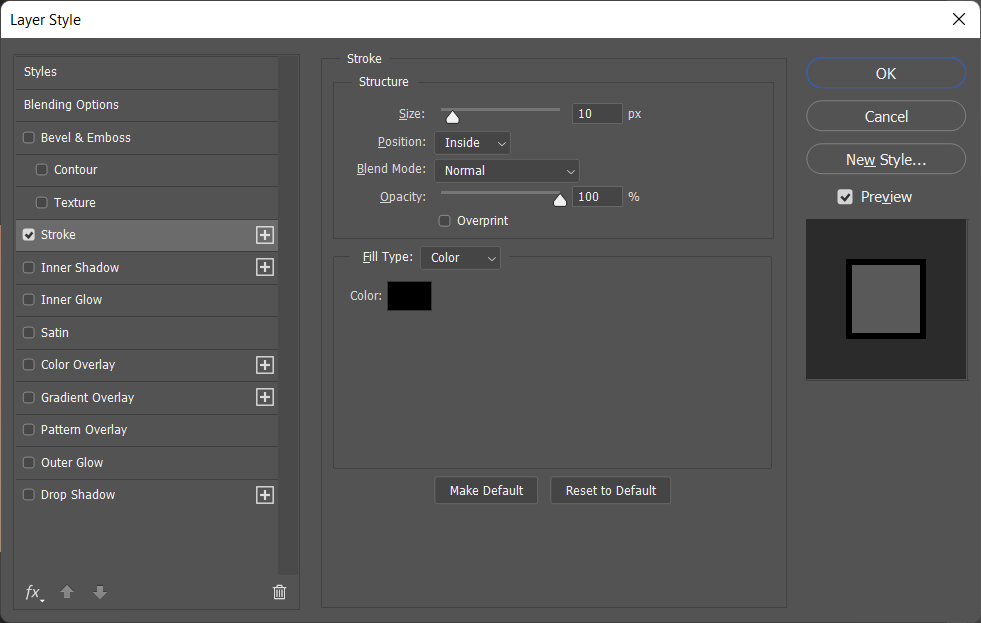
- Double click on the new layer to open the Layer Style Panel. Select Stroke, change the setting as shown in below image. Set the fill type to Color and choose a color to border your selection.
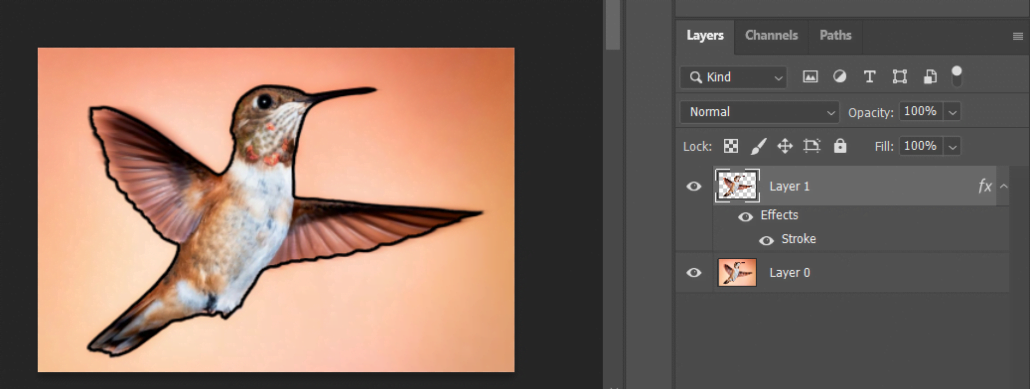
By separating the subject from the background, you can utilize the stroke feature to create an outline relatively quickly. Below image shows the final result along with layer details.