Introduction
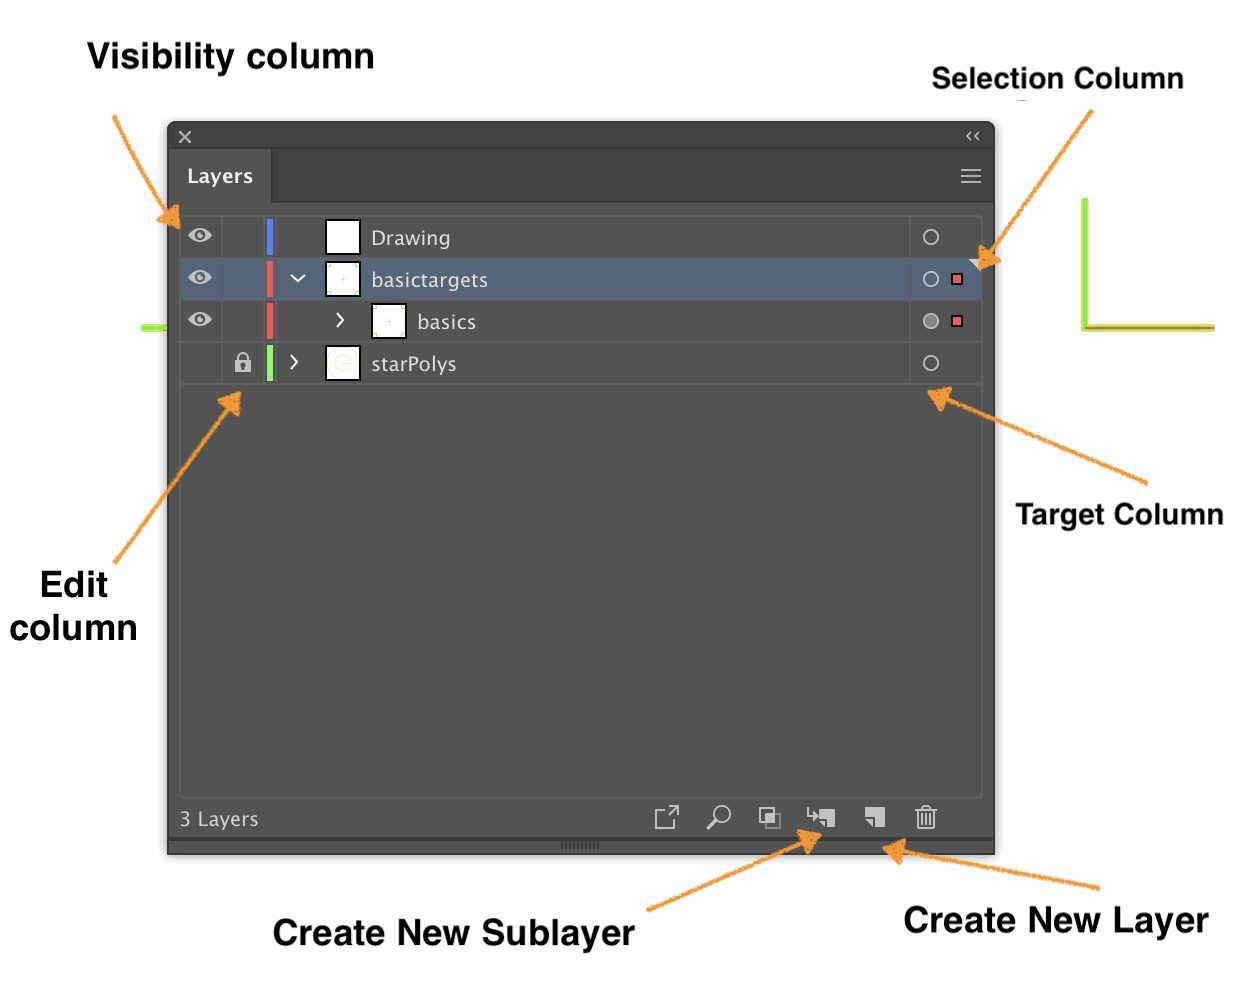
Layers provide a way to manage all the items that make up artwork. By default, all items are organized in a single, parent layer. The Layers panel provides an easy way to select, hide, lock, and change the appearance attributes of artwork. Layers panel (Windows -> Layers) provides following information about layer
- Visibility column : Indicates whether items in the layers are visible or hidden (blank space), or whether they are template layers or outline layers.
- Edit column : Indicates whether items are locked or unlocked. The lock icon indicates that the item is locked and cannot be edited; a blank space indicates that the item is unlocked and can be edited.
- Target column : Indicates whether items are targeted for application of effects and edit attributes in the Appearance panel. When the target button appears as a double ring icon, the item is targeted; a single ring icon indicates that the item is not targeted.
- Selection column : Indicates whether items are selected. A color box appears when an item is selected. If an item, such as a layer or group, contains some objects that are selected and other objects that are unselected, a smaller selection color box appears next to the parent item. If all of the objects within the parent item are selected, the selection color boxes are the same size as the marks that appear next to selected objects.
In the below figure, shape ‘L’ in right most side of the image is selected as denoted by red square in selection column. - Create New layer : Used for creating new layer. New layer color can be changed by double-clicking the layer and using the layer options.
Moving object
To move object from one layer to another layer, select the object. Do one of the following:
- Click the name of the desired layer in the Layers panel. Then choose Object > Arrange > Send To Current Layer.
- Drag the selected-art indicator in the ‘Selection Column’ to the layer you want.
Change order
Layers created in Illustrator is stacked one object on top of another as you add them. Above image shows three layers and their order. To change the order of layer, select the layer and drag it to change the order. At the required level release to change its order in the stack.
Sublayers
Sublayers should be used in a more complex document, where content needs to be organized within a layer. A sublayer is a child of a parent layer. To create sublayers:
- Select the layer in which you want to create a sublayer.
- Click on ‘Create New Sublayer’ button at the bottom of the Layers panel as shown above. The Layer Options dialog box opens immediately. Name the sublayer, select a color, and click OK. The new sublayer is added to the top of the stack that’s underneath the selected layer or sublayer in the Layers panel.
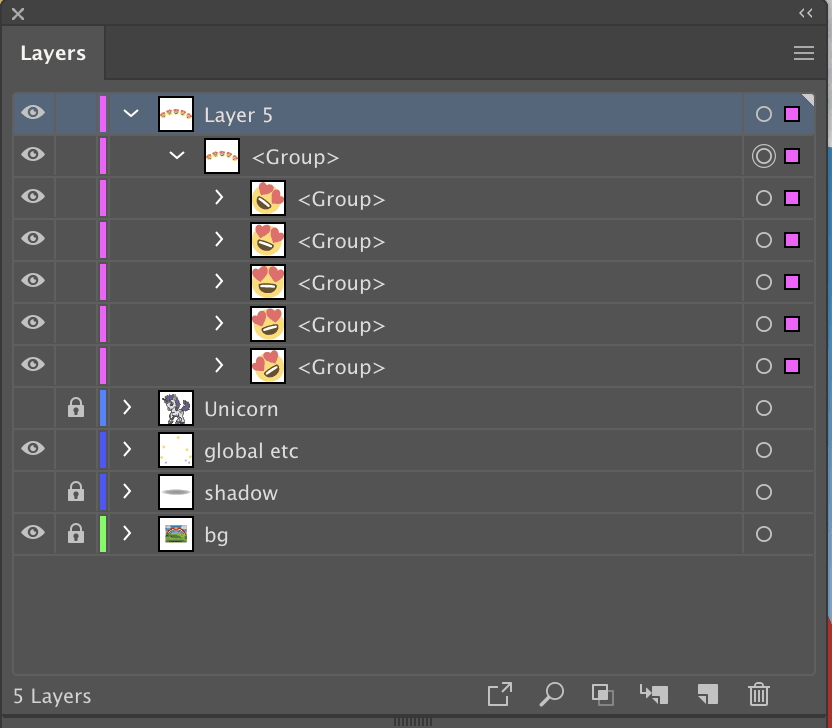
Layer Groups
Similar to sublayers are groups. To make group, select several objects on a layer and then select Object > Group. Look in the Layers panel and you’ll see <Group> as a sublayer. To rename, double-clicking the name <Group> in the Layers panel. Groups in the Layers panel cannot contain sublayers. They also offer fewer options than sublayers do when double-clicked in the Layers panel.