AutoFill feature in Excel helps you automatically enter data. If you are entering a predictable series (e.g. 1, 2, 3…; days of the week; hours of the day) you can use the AutoFill command to automatically extend the sequence.
AutoFill Sequences
For Excel to know how to fill in the series, you usually need to provide two or three example. In the case of sequences like months, weekdays, and hours, you only need to provide one example.
- Type in either the first element (e.g. January or any month) or the first two or three elements (e.g. 1, 2) of a series.
- Select the cell(s) you just typed in.
- Move the cursor over the little block in the lower right corner of the active cell, and the cursor changes to a hairline plus sign (+).
- Click and hold on the fill handle and drag to the right (or down) to fill in the series.
Note that Excel can only extend series by adding to the sequence, not other kinds of math such as square, multiplication, etc.
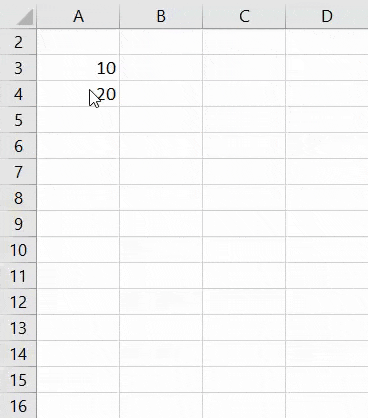
Above figure shows, autoFill in Excel Using two starting values i.e. 10 and 20. Similarly we can use for time, date (dd/mm/year), month and year.
Create a custom list
We can create a custom list, use the autofill feature. To create a custom list,
- Go to Menu
File -> Options -> Advanced - Click on ‘Edit Custom Lists’, to open custom list dialogue box.
- In the left side of the dialogue box, there are some lists defined by the system. The user-defined custom lists work the same way the system-defined lists work.
- Click NEW LIST under Custom lists. Under List entries type AB, BC and CD as shown in the below figure. These names are the different values of our custom list.
- Once all entries have been entered, click Add (right hand side). Now the custom list will shows under Custom lists.
- Click Ok twice and exit from the Excel options dialog box.
