Photoshop Content-Aware Scale can help us to scale images without distorting important elements. Content-Aware move can help us to reposition objects and automatically fill in areas that were left behind.
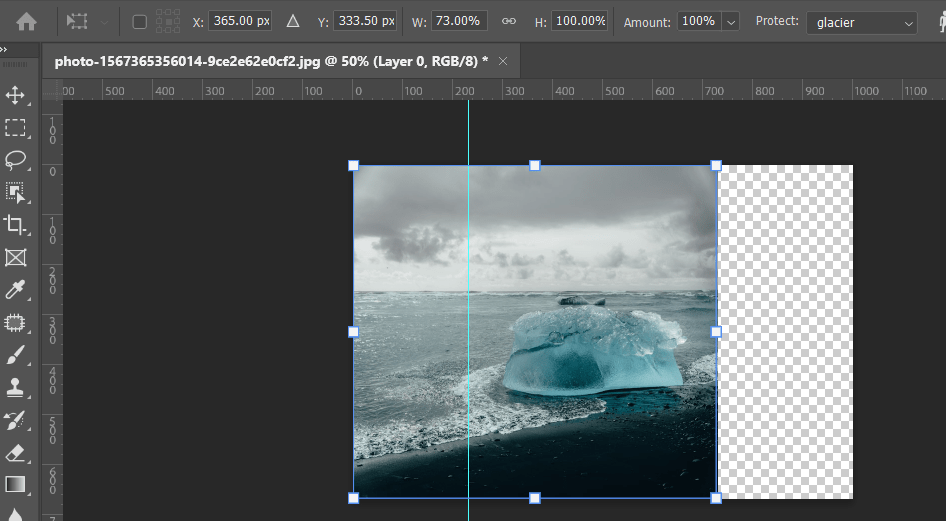
Content Aware Scaling
- Convert the background into a Layer by clicking on the lock icon.
- Then drag a guide as show in the image, out into the image. If guides are not visible, enable by choosing Guide from View -> Show menu.
- Now I’m going to choose the Edit menu and then Content-Aware Scale.
- If I start dragging one of the handles, the constrain proportions is on by default. So I’m going to hold down the Shift key and then drag in order to distort the image as I drag.
- Now as I drag this over, we can see that Photoshop is trying to intelligently scale this image. And if I want to see what this would look like without the content aware scale, I can drag the Amount slider down to the left.
- Now, if there’s something in your image that you really need to protect, we can select that. In this case, I’ll use the Object selection tool. Then in order to save this selection so that the content aware scale, I just need to choose Save Selection from the Select menu.
- Then I’ll use Command+D in order to de-select and return to the Edit menu to Content-Aware Scale.
- I’ll start scaling it and hold down the Shift key. But this time I’m going to use the Protect menu to change it to “glacier”, the selection we saved above.
- And now we can see, as I continue to scale, Photoshop is going to leave the selection alone until it gets to the point where it absolutely has to scale it.
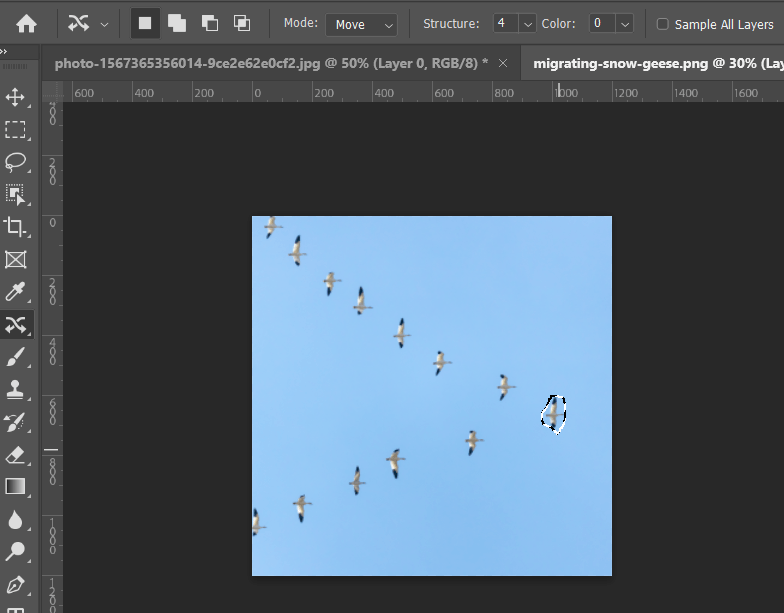
Content Aware Move
Let’s take a look at below image where we can use the Content-Aware Move tool to reposition an object and automatically fill-in the area that’s left behind.
- Convert the background into a Layer by clicking on the lock icon.
- Tap on J key, until Content-Aware Move Tool is selected.
- I can click and drag a rough selection around the bird and then reposition it in the image where I want it to be.
- And we can see that it’s given me the transformation handles. These handles might be need to either increase or decrease the size of the content that I’m moving.
- Then I’m going to use the keyboard shortcut CTRL+H to hide the marching ants, so that we can see if the colors match. If color does not match, we can change Structure or Color from the option bar.
- All right, I’ll use Control+D in order to de-select it.
- You’ll also notice that Photoshop has filled-in the area over here in the sky where the bird originally was.