If you deal with long numbers, names or something that won’t generally fit into a standard cell, you can manually stretch the dimensions of that cell to fit. Microsoft Excel (MS Excel) also allows you to automatically adjust row height and column width.
Modify Column Width
To change column width
- Select the column or columns that you want to change.
- On the Home tab, in the Cells group
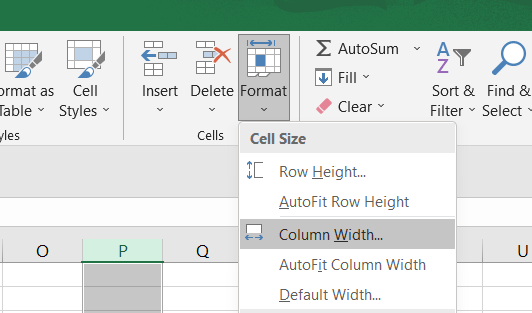
- Click Format as shown in the below figure.
- Under Cell Size, click Column Width.
- In the Column width box, type the value that you want.
- Click OK.
To change width automatically based on the cell content, select AutoFit Column Width under Cell Size.
Change Default Column Width
You can specify a different number for the default column width for a worksheet or workbook. Follow below steps to change default column width
- To change the default column width for a worksheet, click its sheet tab. To change the default column width for the entire workbook, right-click a sheet tab, and then click Select All Sheets on the shortcut menu.
- On the Home tab, in the Cells group, click Format.
- In the Standard column width box, type a new measurement, and then click OK.

If you want to copy that width to another column, you can use the Paste Special option.
- Copy any cell from the column that has the right width.
- Then right-click on a cell in the target column and select Paste Special.
- Make sure to check the appropriate column widths option.
Modify Row Height
Whatever we discussed for column width also applicable row height. Following shows about adjusting row height
- Select the row or rows that you want to change.
- On the Home tab, in the Cells group, click Format.
- On the Home tab, click Format
- Under Cell Size, click Row Height.
In the Row height box, type the value that you want, and then click OK.